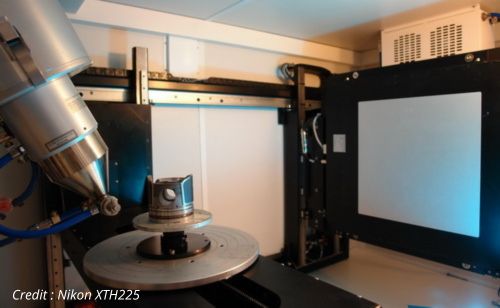
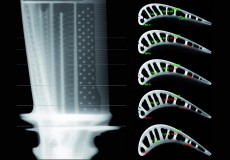
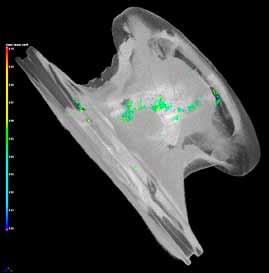
Our CTs is used to qualify and quantify any inner or outer dimension in a smooth, non-destructive process. Furthermore, they provide additional insight on material density. Therefore, these systems are a must-have tool to ensure quality.
Our solutions allow a thorough analysis of the parts produced by additive manufacturing to research and detect faults.
Anywhere the internal structure matters, CTs serve as an efficient tool to detect defects, analyze failure, inspect complex mechanical assemblages, measure internal components, research on materials, and analyze biological structures…
Detailed capture and measurement of internal features is often vital for quality control, failure analysis and material research across various industries such as automotive, aerospace, plastic injection molding, pharmaceutical, medical and research organizations.
Our X-ray Computed Tomography solutions have open-tube X-ray source (low cost) that range from 225kV up to 750kV with micron level spot size.
These systems can be used with various materials (plastics, metals and exotic materials) of different size (maximum diameter of 250 mm with flat panel detector, 350mm with curved linear detector) and weights (from 15kg to 100kg)
In term of material penetration, the 750kV system can work on layer up to 170mm for aluminum and 60mm for steel (the entry level system can work on layer up to 60mm for aluminum and 15mm for steel).
These systems are recognized worldwide and more than 2500 machines are already in use.
 FR
FR


